Mauricio has silkscreened before, and you know how we love a good weekend art project... so i give you the "short" two color silkscreen:
(a side note: i'm a dork and did a work-related screen. i'm going to make tshirts for some events we're doing next year, and possibly make some huge, mother-truckin' stickers).

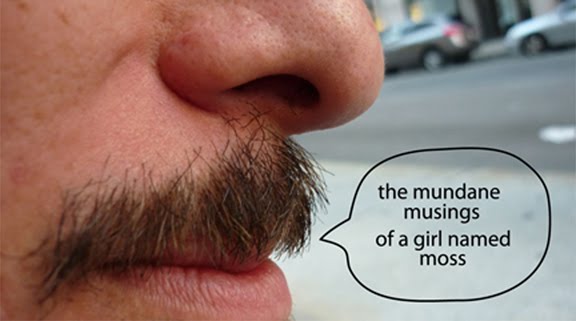
this is the photo that inspired the print. on the left, my photo. on the right, the photoshopped version.

this is the "drawing fluid" step. the drawing fluid is blue, and you basically "paint" it in everywhere you want to be printed in the end.

close up of drawing fluid step. this dries overnight, then comes the next step

now comes the screen filler. you paint this on everywhere you don't want ink to be printed. the drawing fluid acts as a resist- and the screenfiller ignores everywhere that is blue.

this dries overnight, too. i don't have photos showing how i hosed off the screens, washing the blue drawing fluid off.

now comes INK!! the fun starts.


first screen: blue ink

my garage work station

first print

second screen: black ink!!


rows of prints


nice shorts!!
I make a cute butt model
ReplyDelete